Quick start for vendors: OpenTofu/Terraform
This quick start guide demonstrates how to use Tensor9 with an existing application stack that is already modeled in an OpenTofu/Terraform-compatible (referred to as TF) environment.
A note on terminology: At Tensor9, we use the term stack instead of root module to represent a unit of configuration in an OpenTofu or Terraform-compatible environment. An app is comprised of multiple vendor-provided modules. Stack refers to a single unit of deployable Infrastructure as Code (IaC), such as a CloudFormation stack.
As you follow this guide, you will:
- Set up a Tensor9 control plane in your AWS account and bind an TF workspace as the origin stack for an app.
- Test your app running natively in AWS.
- Release infrastructure changes.
Prerequisites
-
Send an email to [email protected] and request an API key. You must have an API key to complete the quick start.
-
Create an AWS account for Tensor9. We will refer to this as the Tensor9 AWS account.
Important:
- Your Tensor9 AWS account should be a dedicated AWS account used only for Tensor9. This reduces the risk of conflicts between your app deployed in a Tensor9 appliance and any other software, infrastructure, or resources you might have in a general-purpose AWS account.
- Your Tensor9 AWS account must be located in a United States region. Support for non-US regions will be available in the near future.
-
Request the following AWS resource quota increases:
- Increase VPCs per region from 5 to 20. Go to your VPCs per region page to accomplish this.
- Increase Internet gateways per region from 5 to 20. Go to your Internet gateways per region page to accomplish this.
-
Install AWS CLI in your environment, and set up an AWS CLI profile that has admin permissions to your new AWS account.
-
Install Java 17 or later in your environment.
Install OpenTofu or Terraform
In your environment, install OpenTofu or another Terraform-compatible tool.
This guide assumes you are using OpenTofu and uses the tofu command throughout.
Install tensor9 CLI
Run the following command to install the tensor9 CLI:
curl https://t9-artifacts-prod-1.s3.us-west-2.amazonaws.com/tensor9-latest > tensor9 && chmod +x tensor9 && sudo tensor9 install
Then set your Tensor9 API key:
export T9_API_KEY=<YOUR_API_KEY>
Note: An API key is required. If you do not have an API key, send email to [email protected] to request one.
Set up a Tensor9 control plane and create a new app
- Set up a Tensor9 control plane in your new AWS account (this takes several minutes to complete) :
tensor9 vendor setup -cloud aws -region <YOUR-REGION> -awsProfile <YOUR_AWS_CLI_PROFILE>
- Create a new Tensor9 app.
tensor9 app create -name tofu-quickstart -displayName "Tofu example app"
Note: The length of the displayName field must be 32 characters or fewer.
Publish your TF and bind it to your new app
Tensor9 works by compiling your TF for each appliance your want to deploy to. So, your next step is to publish your TF to your Tensor9 control plane:
tensor9 stack publish -stackType TerraformWorkspace -stackS3Key your-stack -dir <PATH_TO_YOUR_TF_ROOT>
This will return a native stack id, which will will look something like this:
s3://t9-ctrl-000001/your-stack.tf.tgz
The next step is to bind your published stack to your app:
tensor9 stack bind -appName tofu-quickstart -stackType TerraformWorkspace -nativeStackId <YOUR_NATIVE_STACK_ID>
This registers your stack with your app so that you can release your app/stack combination to appliances. In the future, you can publish new versions of your stack (using the tensor9 stack publish command) without having to bind the app again.
Create a Tensor9 test appliance and test your app
- Create a test appliance:
tensor9 test appliance create -appName tofu-quickstart -name tofu-quickstart-test
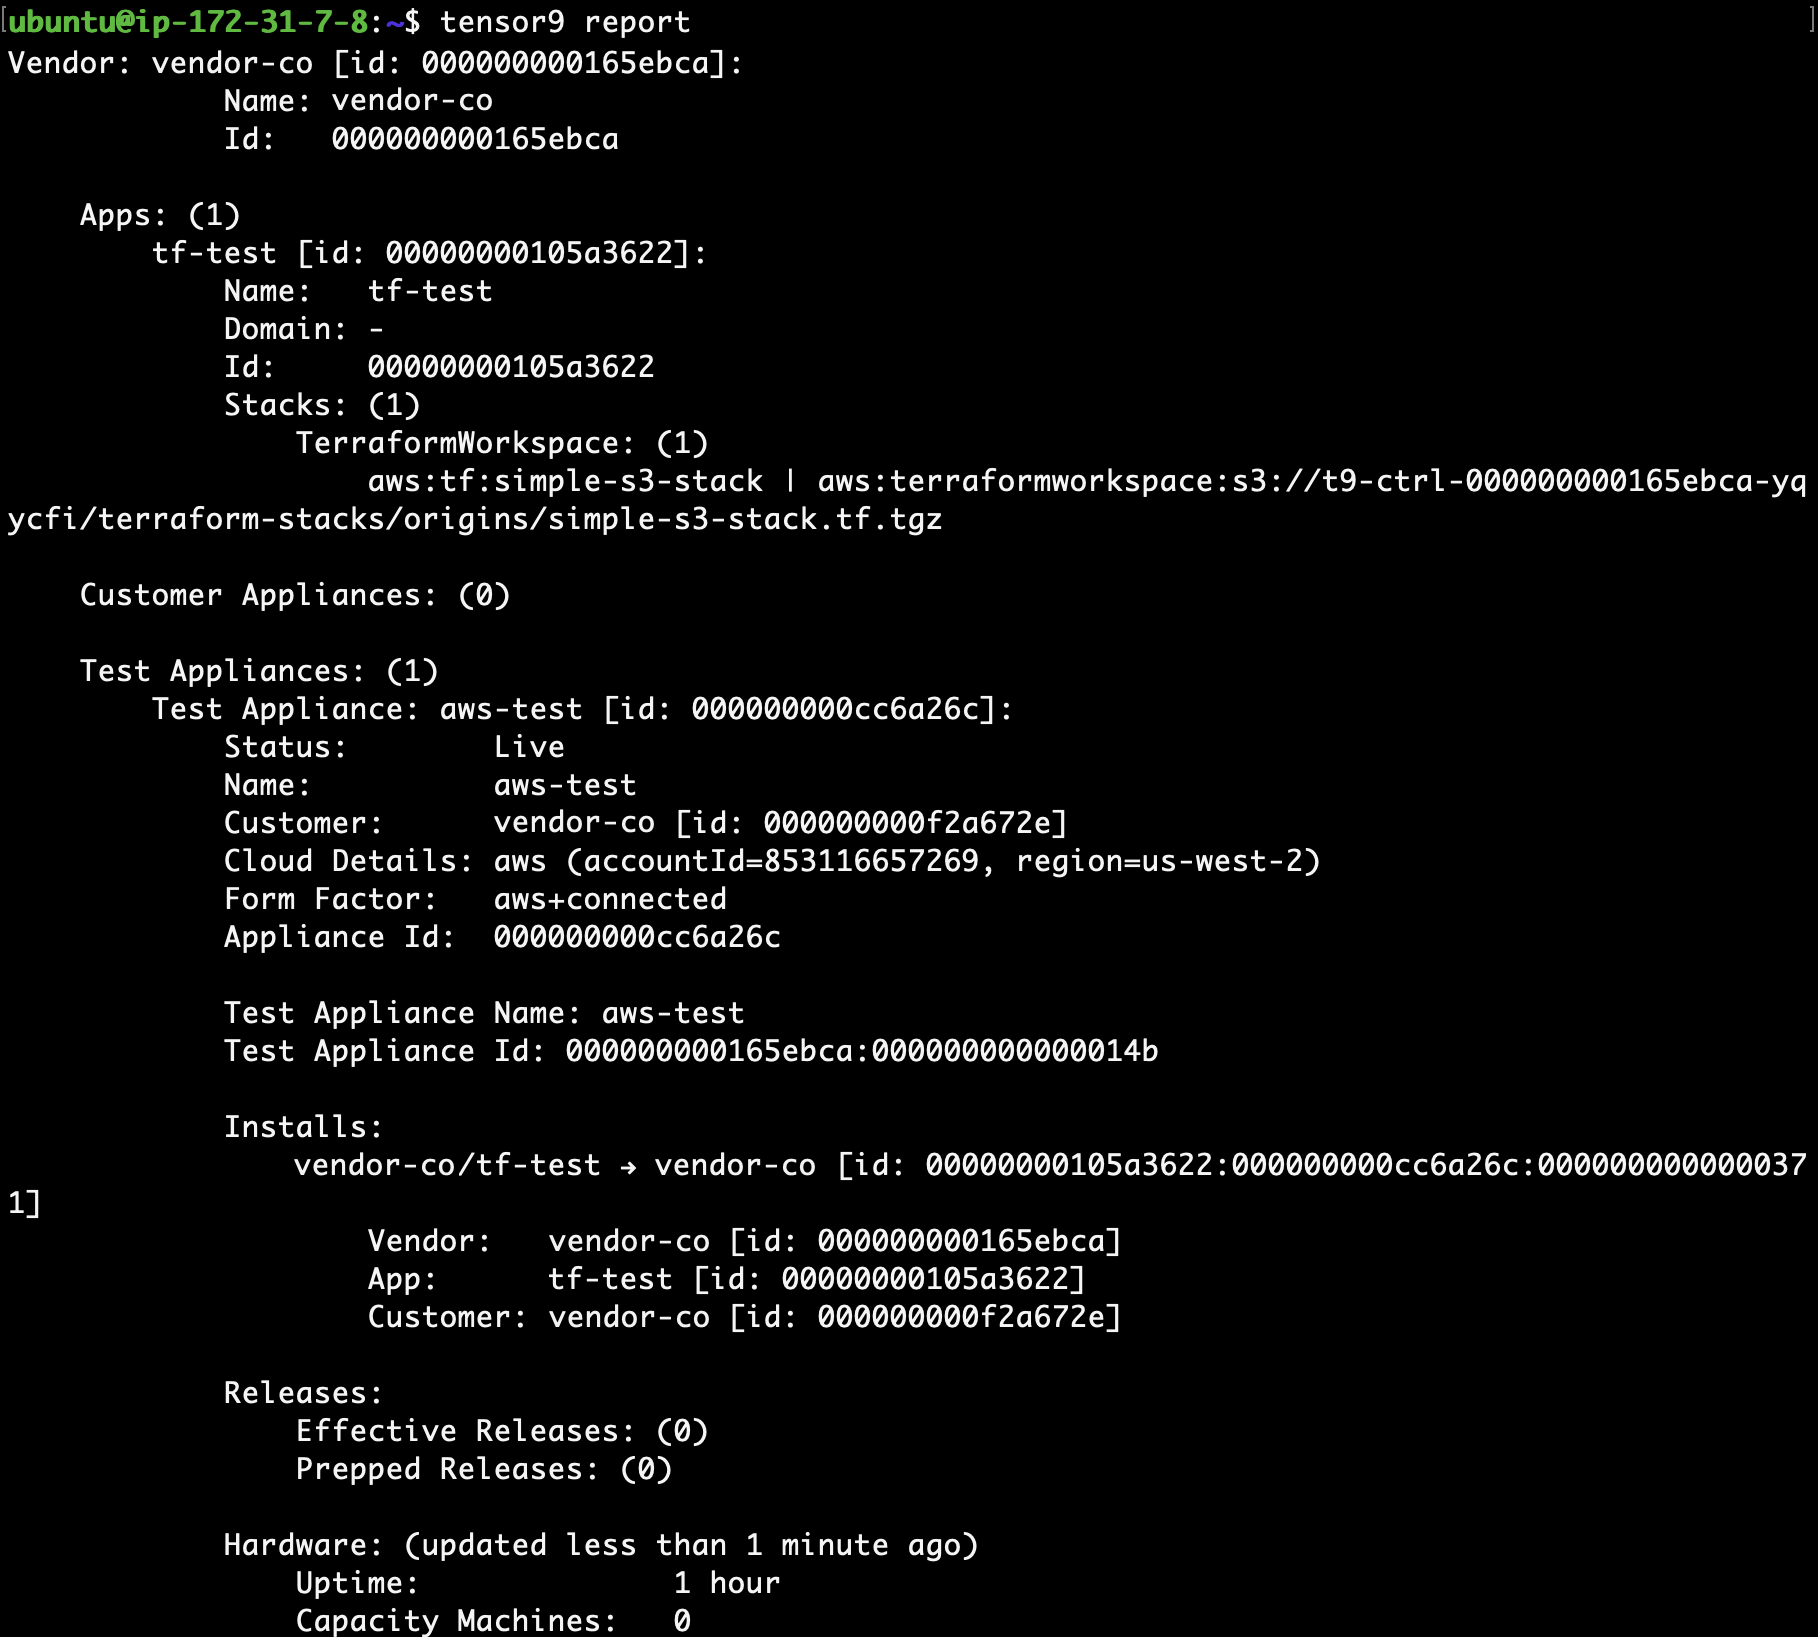
- View the output of
tensor9 reportto determine when your test appliance is ready for a release. While the test appliance is creating,tensor9 reportdisplays output such as:

When the appliance is ready, tensor9 report displays output such as:

- Create a release to your test appliance:
tensor9 stack release create -appName tofu-quickstart -testApplianceName tofu-quickstart-test -vendorVersion "1.0.0" -description "First release of my origin stack via Tensor9" -notes "By [email protected]"
After a few minutes, the workspace bundle for your OpenTofu root module downloads into a new directory that is named after your appliance.
- Change into the new directory that contains the twin stack for your test appliance:
cd tofu-quickstart-test
- Deploy as normal by running
tofu initfollowed bytofu apply. - Run
tofu showto review the resulting created resources.
Release an infrastructure change
You can release infrastructure changes to your stack at any time.
- Update your origin stack with any desired change. For example, you could enable versioning on the AWS S3 bucket that was created when initially publishing your origin stack.
Important: The next step will overwrite the previous origin stack. All new releases will come from the most recently published version of your origin stack.
- Re-publish the origin stack to Tensor9:
tensor9 stack publish -stackType TerraformWorkspace -stackS3Key your-stack -dir <PATH_TO_YOUR_TF_ROOT>
If the origin stack is published successfully, the following message is displayed:
Your origin stack is ready to be released. Use the following native stack id [stack ID URL]
Your native stack id is displayed. You will need this stack id in the next step.
- Create a new release:
tensor9 stack release create -appName tofu-quickstart -testApplianceName tofu-quickstart-test -vendorVersion "1.0.1" -description "Turning on versioning for the main bucket" -notes "By [email protected]"
After a few minutes, the workspace bundle for your TF stack downloads into a new directory that is named after your app.
- Change into the new directory that contains the twin stack for your test appliance:
cd tofu-quickstart-test
- Deploy as normal by running
tofu initfollowed bytofu apply. - Run
tofu showto review the resulting created resources.
Updated about 2 months ago
