1: Connect Your Stack
Tensor9 connects to your origin stack and continuously synchronizes it to customer appliances. In this guide, we’ll walk you through how to connect your CloudFormation origin stack to Tensor9.
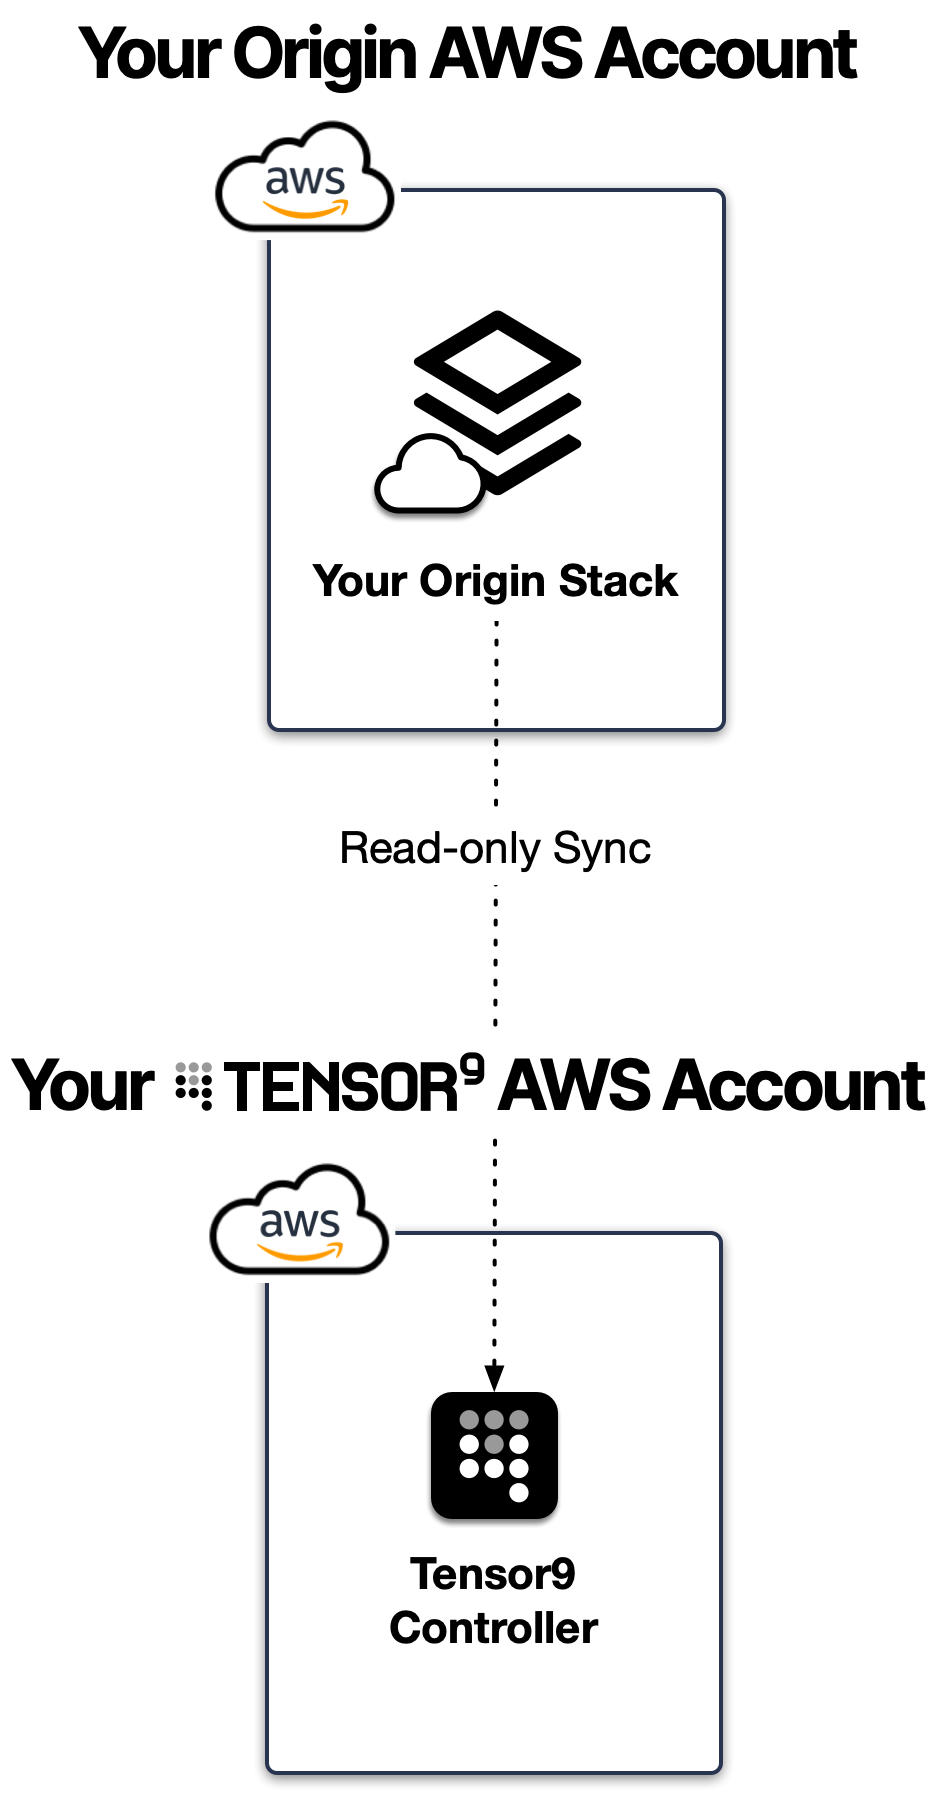
When you're done with this guide, you'll have something that looks like this:

...and then you'll be able to create an appliance and see your stack deployed to it—just as a customer would.
Here are the steps:
- First: Create a new AWS account for Tensor9. We'll refer to this as your Tensor9 AWS Account.
- Second: Create a
Tensor9ReadOnlyIAM Role in your origin AWS account (your AWS account where your stack is) and grant your Tensor9 AWS account permissions to assume this role. - Third: Connect your CloudFormation origin stack to Tensor9.
Estimated time: 15 minutes
Prerequisites
Before you begin, you'll need...
- A Tensor9 account. If you don't have access yet: Get Access To Tensor9
- Access to your origin AWS account (your main account where you stack is) with permissions to create IAM roles.
- The account ID for your origin AWS account. Find it in the upper-right corner of the AWS Console.
First: Create your Tensor9 AWS account
In this step, we'll create your Tensor9 AWS account. This is a separate account from your origin AWS account, where your origin stack resides. We use a separate Tensor9 AWS account in order to maintain isolation from your origin AWS account. This way, Tensor9 only needs read-only access to your origin AWS account.
- Create a new AWS account. If you have an AWS organization, you should create the new account within your organization. This new account is your Tensor9 AWS account. Save its AWS account id - you'll need it later. You can find the AWS account id in the upper-right corner of the AWS Console.
- In a separate browser window, log in to Tensor9. If you don't have access yet: Get Access To Tensor9.
- Copy the Tensor9 setup script on-screen, and paste it into AWS CloudShell in your Tensor9 AWS account. Then hit enter to run the setup script.
- Wait until the Tensor9 UI says it is done setting up Tensor9 in your Tensor9 AWS account.
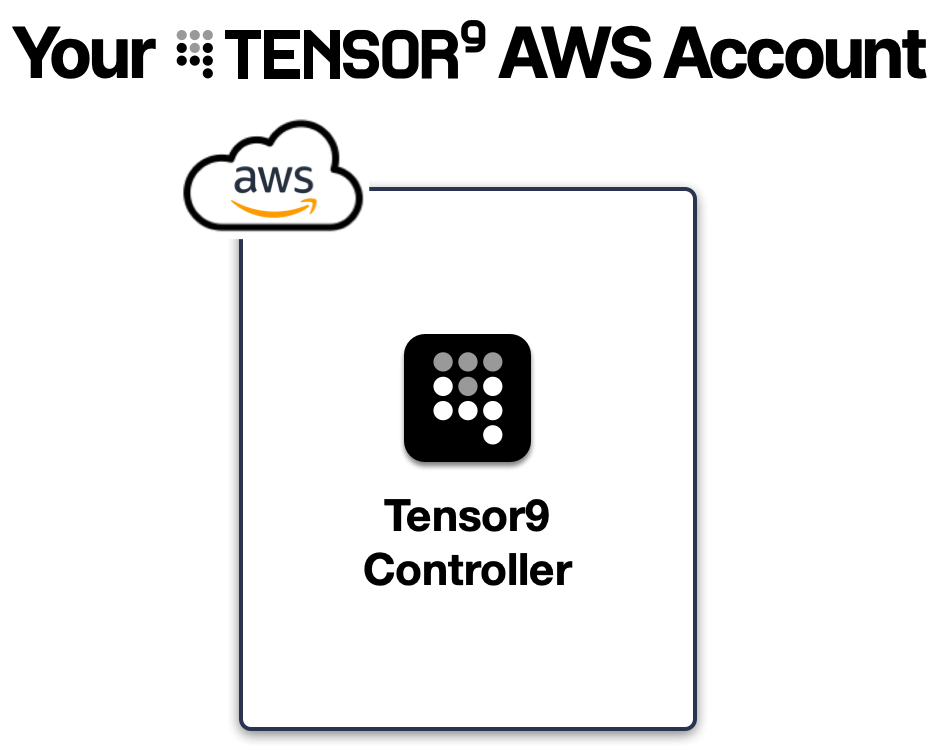
Your Tensor9 AWS account has a Tensor9 controller provisioned on one or more EC2 instances. This Tensor9 controller orchestrates and manages your usage of Tensor9:

You can move on to the second step below.
Second: Create a Tensor9ReadOnly IAM role
Choose one of the following methods to create the Tensor9ReadOnly IAM Role in your origin AWS account:
Click-To-Deploy (Easiest)
Open the following link to launch a CloudFormation Click-To-Deploy stack pre-configured to create the Tensor9ReadOnly IAM Role, and grant your Tensor9 AWS account permissions to assume that role.
Be sure to replace <YOUR_TENSOR9_AWS_ACCOUNT_ID> with the account id of the Tensor9 AWS account you created in the first step.
https://console.aws.amazon.com/cloudformation/home#/stacks/create/review?stackName=Tensor9ReadOnly&templateURL=https://t9-artifacts.s3.us-west-2.amazonaws.com/tensor9_readonly-latest.yaml¶m_RoleName=Tensor9ReadOnly¶m_PrincipalArn=arn:aws:iam::<YOUR_TENSOR9_AWS_ACCOUNT_ID>:root
This will open your AWS Console and walk you through the creation process.
AWS Console
- Log in to the AWS Console and navigate to IAM > Roles > Create Role.
- Select Trusted Entity: Choose Another AWS Account and enter the
arn:aws:iam::<YOUR_TENSOR9_AWS_ACCOUNT_ID>:root, replacing<YOUR_TENSOR9_AWS_ACCOUNT_ID>with the account id of the Tensor9 AWS account you created in the first step. - Add Permissions: Attach the
SecurityAuditmanaged policy. - Name the Role: Name the role
Tensor9ReadOnlyand review the details. - Finish: Click Create Role.
AWS CLI
Use the following commands to create the role:
aws iam create-role --role-name Tensor9ReadOnly --assume-role-policy-document file://tensor9-readonly-trust-policy.jsonEnsure the tensor9-readonly-trust-policy.json contains the following, replacing <YOUR_TENSOR9_AWS_ACCOUNT_ID> with the account id of the Tensor9 AWS account you created in the first step:
{
  "Version": "2012-10-17",
  "Statement": [
    {
      "Effect": "Allow",
      "Principal": {
        "AWS": "arn:aws:iam::<YOUR_TENSOR9_AWS_ACCOUNT_ID>:root"
      },
      "Action": "sts:AssumeRole"
    }
  ]
}
Next, attach the SecurityAudit policy:
aws iam attach-role-policy --role-name Tensor9ReadOnly --policy-arn arn:aws:iam::aws:policy/SecurityAuditThird: Connect your stack
Once the Tensor9ReadOnly role is created:
- Log in to Tensor9.
- Follow the instructions to:
- Create a Tensor9 app. A Tensor9 app is your software and infrastructure packaged for delivery to your customers. Just like an iOS app runs on a user’s phone, a Tensor9 app runs securely in your customer’s appliance.
- Connect your origin AWS account to your Tensor9 app.
- Connect your CloudFormation origin stack to your Tensor9 app.
- Answer technical questions to confirm Tensor9's understanding of your stack, including questions about: published endpoints, IAM permissions, managed services you use, and shared stateful resources (e.g. database, storage).
All done!
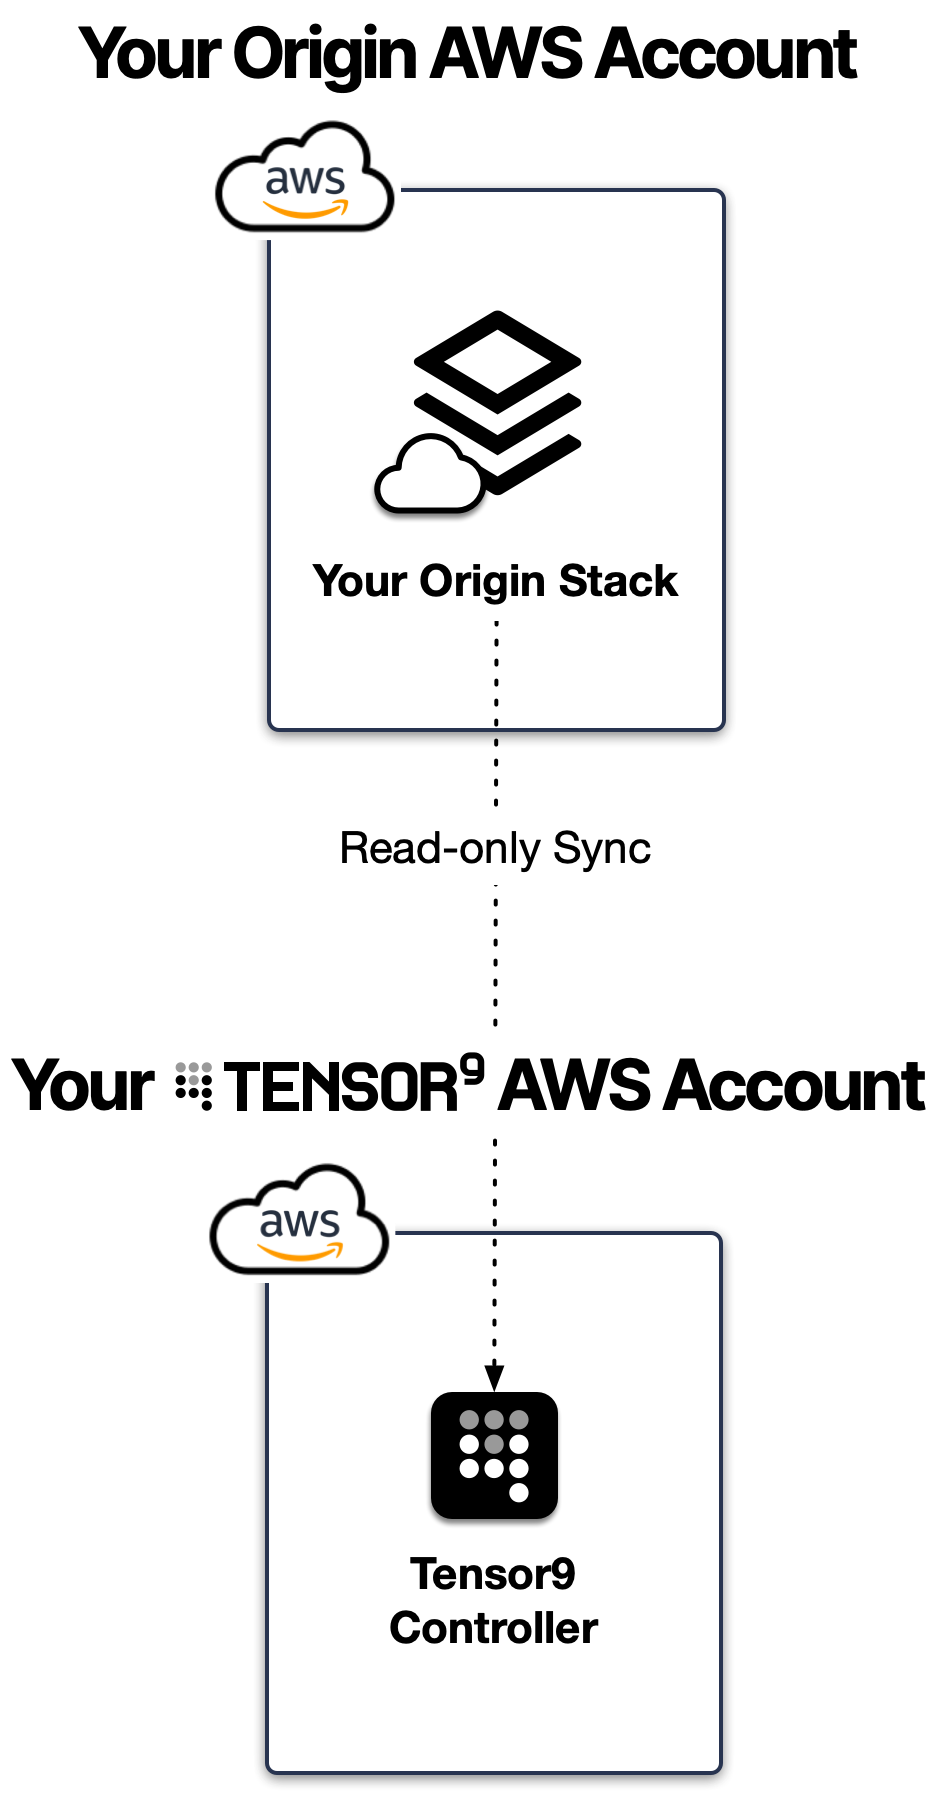
Putting everything together, your setup now looks like this:

In the next guide, we'll create an appliance to host your app. This will show you the experience your customers will have: Set Up An Appliance
Glossary
- Origin Stack: Your existing stack that defines the software, infrastructure, and services for your product. This is the stack that Tensor9 will synchronize across customer appliances, ensuring a consistent environment.
- Origin AWS Account: The AWS account where your origin stack is deployed. Tensor9 only has read-only access to your origin AWS account.
- Tensor9 AWS Account: Your dedicated AWS account that hosts your Tensor9 controller. This account (owned by you) is separate from your origin AWS account and is used to securely facilitate deployments and manage the synchronization process. We ask you to keep your Tensor9 AWS account separate from your origin AWS account so that Tensor9 doesn't need write access to your origin AWS account.
- Tensor9ReadOnly IAM Role: An IAM role in your origin AWS account that grants Tensor9 read-only access to your origin stack. This allows your Tensor9 controller to access your origin stack without making changes to it.
- Tensor9 Controller: A service in your Tensor9 AWS account that handles the orchestration and synchronization of your origin stack with customer appliances. It ensures updates to your stack are reflected securely across all appliances.
- App: A Tensor9 app is your software and infrastructure packaged for delivery to your customer appliances. Just like an iOS app runs on a user’s phone, a Tensor9 app runs securely in your customer’s appliance.
- Appliance: A Tensor9 appliance is a self-contained, secure environment where your Tensor9 app runs inside your customer’s infrastructure. The appliance mirrors the configuration of your origin stack and provides compute, storage, and networking resources while ensuring that all data stays within the customer’s control. It can be deployed in cloud accounts (AWS, Azure, GCP) or on-prem environments, supporting disconnected and air-gapped setups.
Updated 6 months ago
